This shop has been compensated by Collective Bias, Inc. and its advertiser. All opinions are mine alone. #PickPackSnack #CollectiveBias
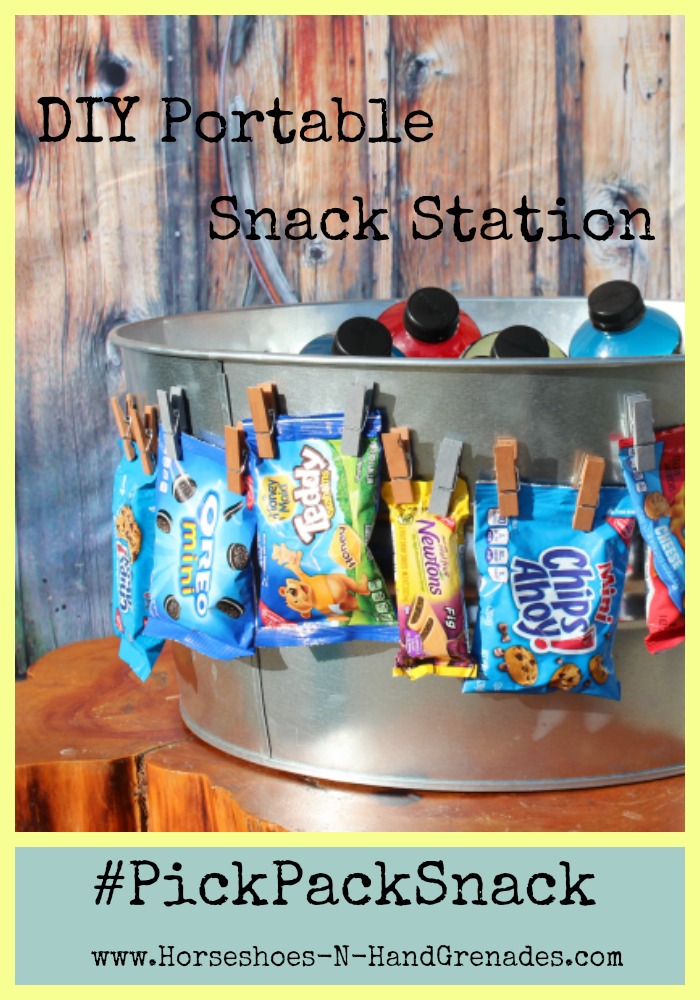
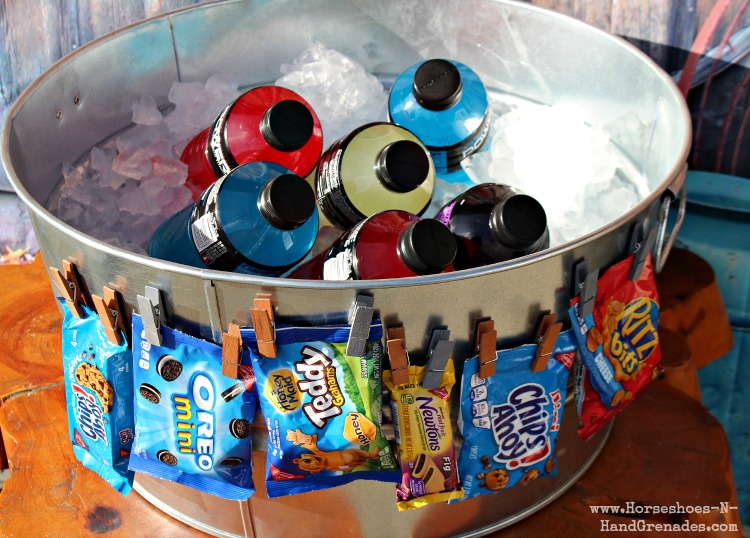
Family, kids, school, sports, playdates…the life of a mom is a busy life. A busy life spent catering to others and often those other’s are hungry and thirsty. We must provide for those needs and regardless of if we’re having a backyard playdate or at this weeks soccer game the next county over, we need convenient options for making that happen. My solution, a super easy DIY Portable Snack station filled with the perfect mix of NABISCO snacks.
I say NABISCO snacks because not every snacker wants the same thing and now moms, dads, teachers, and coaches can pick, pack and snack on their own custom mix of NABISCO snacks. It’s a great way to stock up on the snacks that everyone will love and they’re perfect for soccer snacks, packing lunches or just to have a delicious treat ready to go when you are.
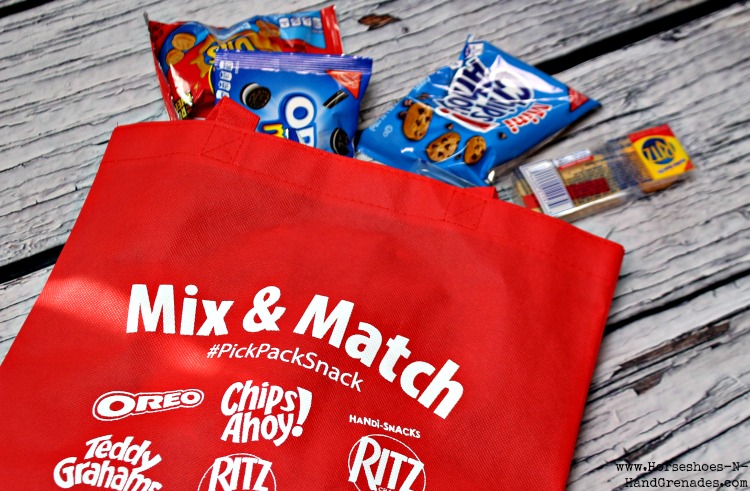
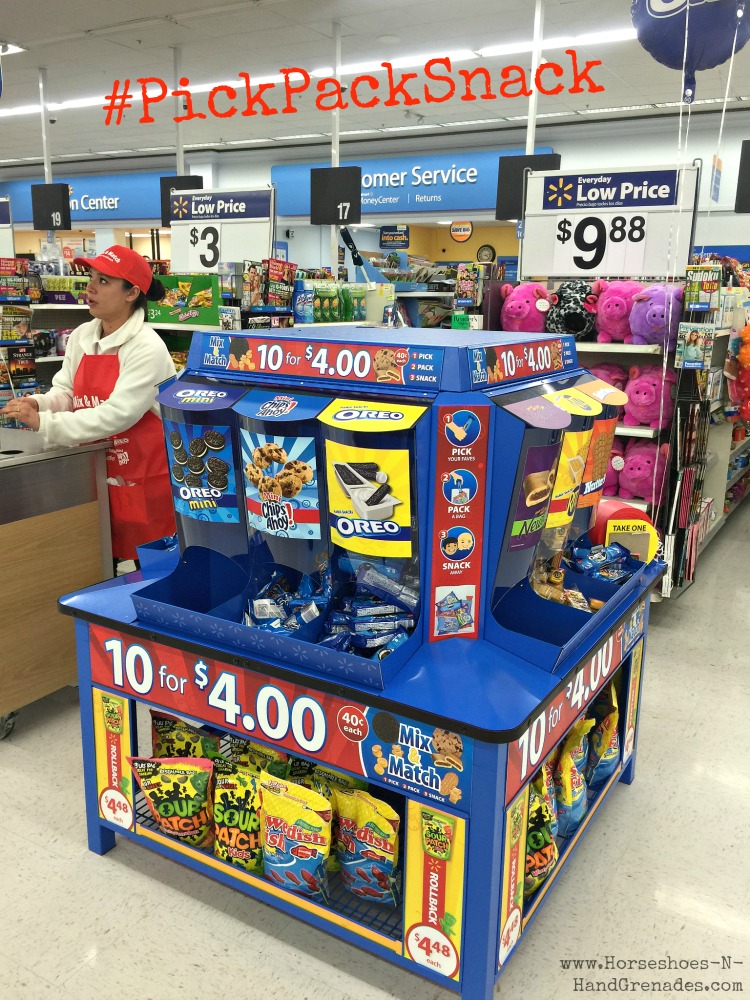
Now I’m a girl that likes to be in the know so I stopped by an event at our local WalMart last weekend that was featuring this new way to snack. Thank goodness they had me covered with these sassy bags to carry my loot once I made my selections. Plus the kids just think it’s cool to get their own bag and make their own life altering decisions.
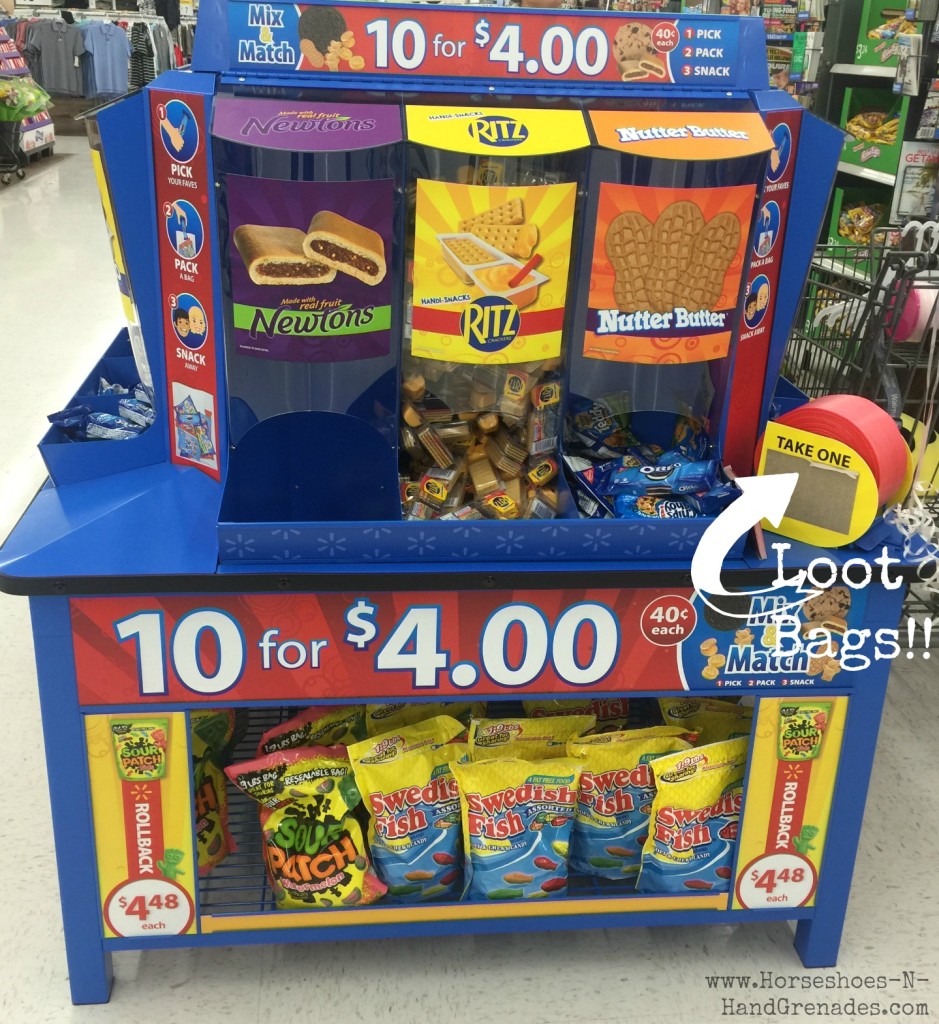
If you’re lucky enough to live in the Pacific Northwest (WA, OR, ID) like me, then you should be able to find one of these snack stations at your local WalMart as well. Your grub choices include:
- NUTTER BUTTER Cookies
- OREO Cookies
- RITZ HANDI-SNACKS Crackers ‘N Cheese Dip
- OREO HANDI-SNACKS Cookie Sticks ‘N Creme Dip
- NEWTONS Real Fruit Chewy Cookies
- RITZ Filled Cracker Sandwiches
- CHIPS AHOY! Cookies
- Mini CHIPS AHOY! Cookies
- Mini OREO Cookies
- TEDDY GRAHAMS Graham Snacks
DIY Portable Snack Station Tutorial
Now, once you gather up all of those delicious snack, you’ll want a fun and convenient way to distribute them to the masses so I’m going to show you how to make this ridiculously easy portable snack station that you can use at home or load up in the car when you’re on the go.
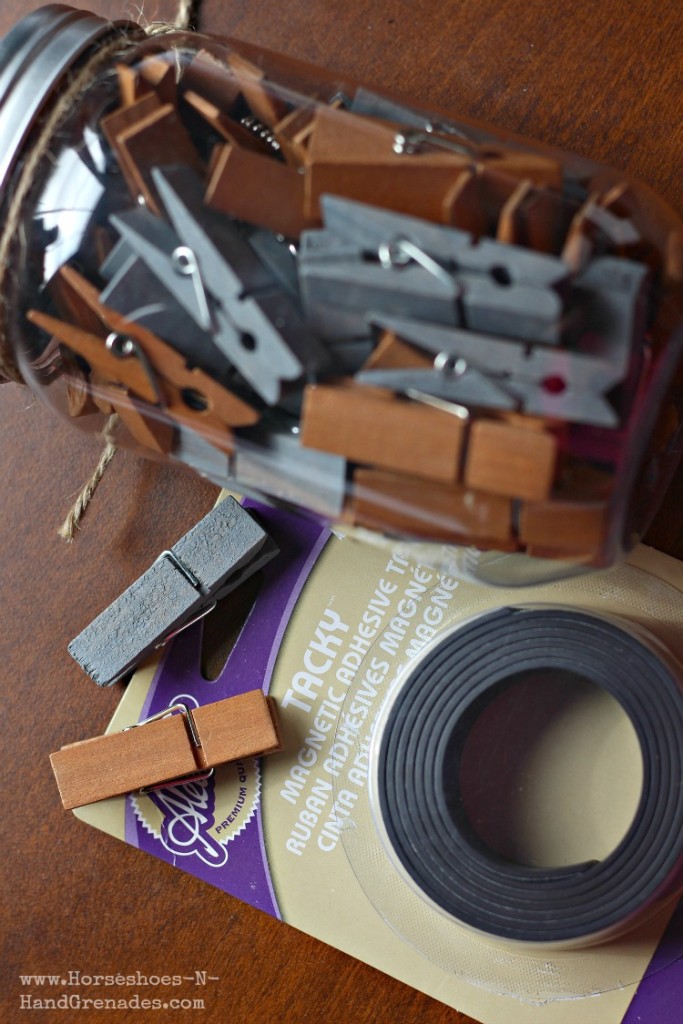
Supplies
Clothespins
Magnetic Tape
Metal Container/Bucket
Directions
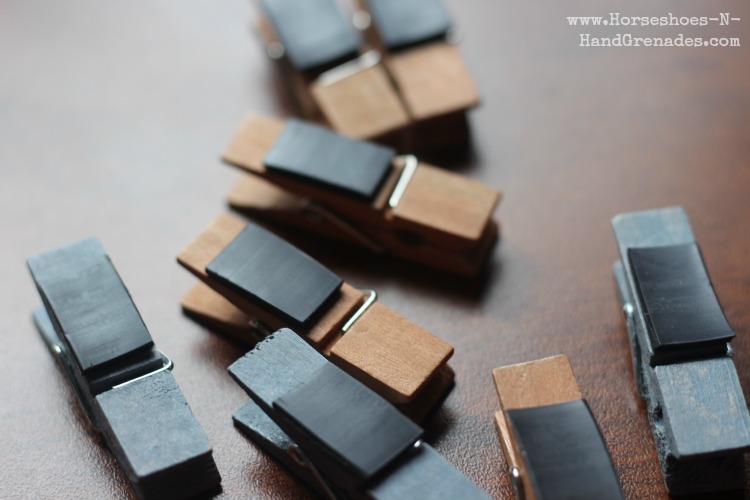
Cut small sections of the magnetic tape and adhere to the back of the clothespins.
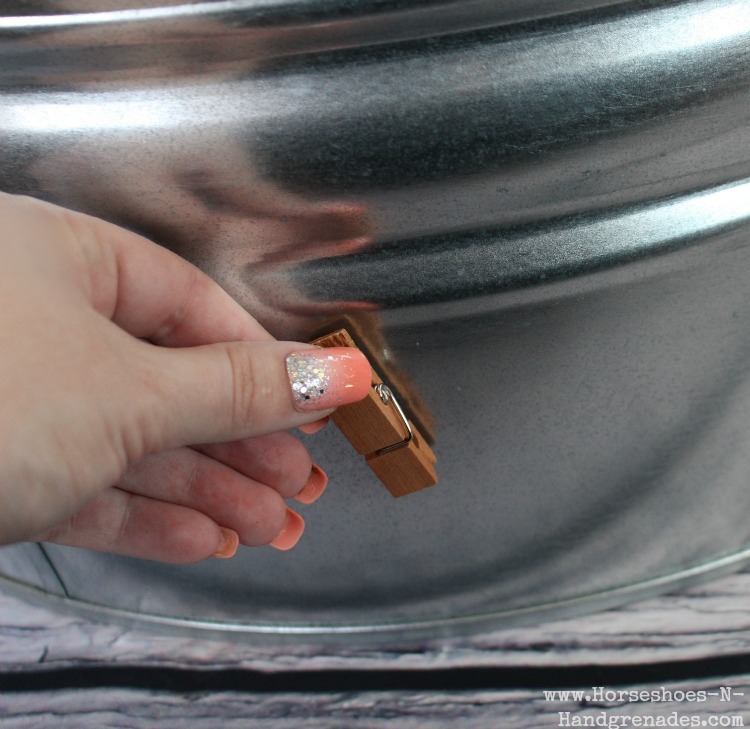
Place clothespins on to metal bucket. Arrange all the way around outside of bucket.
Attach clothespins to individual snacks. (Heavier items may require two clothespins). Fill your bucket with ice and place drinks of choice inside.
Move out of the way and let snacktopia begin!
Is there a need for a portable snack station in your life? What is your favorite NABISCO snack option on the list above? Let me know in the comments below and thanks for reading!


 Kara Miller says
March 24, 2016 at 3:14 pmI LOVE your portable #PickPackSnack Station! What a perfect idea for us busy moms with lots of different tastes to cater to. #client
 kendall says
March 24, 2016 at 4:39 pmOh, this is so cute! I love how you incorporated the magnetic strip and used the clothes pins! What a clever idea – this way they’re easily replaceable, etc. And you can use all of those items later. Love those cookies, too! 🙂
 Kristin says
March 24, 2016 at 10:42 pmWhat a cute set up! I love the idea. Way cute thank you for sharing.
 Crystal Lopez says
March 25, 2016 at 7:17 amI love this idea! Those little clothespins on the side are perfect for holding those little bags of snacks. This would be great for a playdate, bbq, or a birthday party!
 Carin Kilby Clark says
March 25, 2016 at 6:56 pmThat is so cute and creative! I never would’ve thought to clip the snack bags to the side – genius. That’s sure to be a hit with the kids this Summer when we’re out at cookouts. Thanks so much for sharing.
 Janna says
March 26, 2016 at 11:31 amWhat a great idea! I love how its easily accessible for everyone. So fun and creative!
 Tami says
March 26, 2016 at 12:45 pmMy little guy would love to have snacks at his fingertips. I like the idea of iced beverages at his fingertip. I will have to make me one with water and pcos friendly snacks. Thanks for the great idea!